
I tried several gaming oriented Linux distributions and found them all to be… well, to be frank, bloated and unstable. I seek the most minimal experience, secure, up to date, with comfy desktop environment for a small screen. Most distributions are full of preinstalled stuff that you will never use, some of which often runs in the background, quietly eating away on your battery life. I also really like the ability to “tab out” of my game and have discord, browser, or anything else immediately available, without unreliable 3rd party plugin managers for steam that are broken every single time you want to play a game (yes I’m looking at you deckyloader). Simply I want my handheld to be ready to game, no matter how often I use it. Daily, or once a year, without having to deal with mandatory updates breaking everything.
YouTube: My GPD Win4 with Fedora Minimal (niri+noctalia) is better than SteamOS!
For the longest of time I used Fedora KDE that would boot straight into the gamescope steam. Relatively recently I acquired a new mini laptop where I went with Fedora minimal + Niri + Noctalia and I love this setup. This article describes my configuration that can be applied to any laptop, or a handheld gaming console, with small differences. And I’ll be writing it as I apply it to my GPD Win4. Please note that this configuration is not for a beginner windows-refugee. You’d be better off with KDE if you need a lot of floating windows on many displays, or if you’re a beginner.
Linux Distro
Why Fedora? Because it’s one of the most stable Linux distributions and at the same time one of the most up to date distros with the latest toys available. We will be using minimal install, without any desktop environment. (Note that it doesn’t even install wifi drivers so you will need ethernet, or a usb stick to install those.)
Grab yourself a Fedora Everything iso and apply it onto your USB stick/dongle/goober of choice with Fedora Media Writer (available in your linux software center, flathub, etc.)
The good old fedora installer will guide you through everything, just select Zero checkboxes on the software selection screen :) Minimal. For laptops or other portable devices, use LUKS encryption. Otherwise default btrfs partitions are fine.
The first steps post install
You’re gonna boot into basic tty command line interface. If you have ethernet available, install your wifi drivers.
- This will cover the intel ones:
sudo dnf install NetworkManager-wifi iwlwifi-dvm-firmware iwlwifi-mvm-firmware iwlwifi-mld-firmware - If you don’t have ethernet, you’re gonna have to find the rpm and shuffle it over with a usb stick.
Now the next thing that I configure is mounting my NFS share which I can then use to easily transfer some files, such as my do-it-all script which enables all my repositories necessary, installs all rpms, enables flathub, installs my flatpak apps, and clones my chezmoi configuration files for everything. At this point my install is done. I’ll help you with yours though :)
A little disclaimer - I am using a handful of copr repositories which are “user generated” packages without the same security and quality assurance that the main Fedora repository enjoys. Kind of a “use at your own risk” situation - you should always verify the author and use their packages only if you trust them. I trust those that I use (some of which are my own).
Install Everything
rpmfusion
RPMFusion repositories are necessary for other packages as well, but also useful for multimedia and nvidia. Enable them either way.
Fedoratricks is a collection of scripts that we (the Fedora Discord) have put together to help new users with the basic Fedora setup and diagnostics - to help us in providing support to you.
- Enable the copr repository:
sudo dnf copr enable rhea/fedoratricks - Install the package
sudo dnf install fedoratricks - Use it to enable rpmfusion:
fedoratricks rpmfusion --install - You can now use it to install multimedia/codecs, or even nvidia drivers if that’s what you have. Simply run
$ fedoratricks --helpto figure it out :)
Manual steps - take it from the horses mouth directly:
- Enable the repositories: rpmfusion.org/Configuration
- Install ffmpeg, multimedia, and codecs for your hardware: rpmfusion.org/Howto/Multimedia
- Install nvidia drivers: rpmfusion.org/Howto/NVIDIA
terra & noctalia shell
Terra repository is our source of noctalia packages. Beware though, it is known to cause issues if you leave it enabled. We will restrict it only to install the relevant packages.
- Enable the terra repository:
sudo dnf install --nogpgcheck --repofrompath 'terra,https://repos.fyralabs.com/terra$releasever' terra-release - Add the following to your repo configuration, edit:
/etc/yum.repos.d/terra.repo- Add it at the end of the first repository:
includepkgs=noctalia*,cliphist* - (You can ignore the source repo as it is disabled.)
- Add it at the end of the first repository:
We can now install noctalia without weak dependencies - they install some unnecessary “bloat”
sudo dnf install -y noctalia-shell --setopt=install_weak_deps=false
everything else
Here is a complete list of things that I personally install on my handheld (both laptop and gaming) - feel free to use it to experiment with chezmoi, wezterm, neovim and ble.sh - or delete the things you don’t want.
- Wezterm solves a few issues for me which many of the GTK based terminals cause.
- Enable its copr
$ sudo dnf copr enable wezfurlong/wezterm-nightly- otherwise remove it from the below command.
- Enable its copr
- Another one included below is
neovim- it’s great, you’re welcome :D No seriously though, you can remove it as well asnpm fd-find ripgrepif you do not want to use it. If you do, you will need to alsosudo npm install -g tree-sitter-cliand if you want tips on nvim plugins, message me. - Some of these packages are simply dependencies for other things, or necessary applications to exist in a minimal non-DE setup, and it also includes
niriwhich we’ve omitted so far.sudo dnf install -y vim neovim git rsync htop gdu fastfetch make zip unzip gcc npm fd-find ripgrep luarocks wezterm fzf chezmoi btrfs-assistant flatpak flatseal steam gwenview gamescope mangohud protontricks winetricks discord okular vlc niri pavucontrol flameshot dolphin qt6ct cliphist usbutils ddcutil xhost xdg-desktop-portal xdg-desktop-portal-kde
And the optional ble.sh - highly recommended quality of life in bash (fish is stinky and zsh likes to crash):
- Clone (into whatever location you want):
git clone --recursive --depth 1 --shallow-submodules https://github.com/akinomyoga/ble.sh.git - Install for your user:
make -C ble.sh install PREFIX=~/.local - Enable it for root as well:
sudo make -C ble.sh install PREFIX=/root/.local
Specific to GPD Win4 (and possibly other handhelds):
- We need an acpi_call kernel module to enable tdp limits:
sudo dnf copr enable rhea/acpi_call - Install it
sudo dnf install -y upower acpi_call hhd hhd-ui - Enable it:
sudo systemctl enable hhd
Specific to everything that doesn’t use hhd or acpi_call:
- Install tuned:
sudo dnf install tuned-ppd - Fix crackling audio on boot/shutdown/etc:
- Add the directory name
overridesinto text file/etc/tuned/post_loaded_profilesudo mkdir -p /etc/tuned/profiles/overrides /etc/tuned/profiles/overrides/tuned.conf[audio] timeout=0
configuration
I’ll strongly recommend you to look into chezmoi (rpm) and ble.sh (mentioned above) :) (fish is stinky and zsh often crashes)
Add flathub
sudo flatpak remote-add --if-not-exists flathub https://flathub.org/repo/flathub.flatpakrepo
Install your desired flatpaks. For gaming, since that’s our focus here, you’d want at least protonplus (and probably a web browser - the above didn’t include one)
flatpak install protonplus
XDG configuration
- This is by far the most tricky thing to do on this kind of install. Necessary packages should already be there, now you need to configure them - Arch Wiki reference
- (Create its directory and) add into the following file:
mkdir -p ~/.config/xdg-desktop-portal ~/.config/xdg-desktop-portal/portals.conf[preferred] default=kde org.freedesktop.impl.portal.FileChooser=kde
QT themes
- Create the probably missing directory
mkdir -p ~/.config/environment.d - Cook up the ocnfig:
~/.config/environment.d/niri.confQT_QPA_PLATFORM=wayland QT_QPA_PLATFORMTHEME=qt6ct QT_QPA_PLATFORMTHEME_QT6=qt6ct
Auto-login
- Since we use LUKS we don’t really need to enter the password twice. Described on the Arch Wiki
- (Create its directory and) add into the following file:
sudo mkdir -p /etc/systemd/system/[email protected] /etc/systemd/system/[email protected]/override.conf- Change my username, I don’t think that yours is the same! ;)
[Service]
ExecStart=
ExecStart=-/sbin/agetty --noreset --noclear --autologin rhea - $TERM
Configure Ble.sh
- Assuming you did install it. I won’t go into the details of why I have these, alas this is my preferred configuration. (I don’t like menu autocomplete.)
- Add to your
.bashrc:bind 'set match-hidden-files on' bind 'set completion-ignore-case on' source -- ~/.local/share/blesh/ble.sh
Configure btrfs snapshots
- You can simply create an alias for this in your
.bashrcfor that btrfs-assistant doesn’t work out of the box without a DE. This is my workaround. Execute it and use btrfs assistant to configure your snapshots for both root/and/home, after you reboot and have some GUI :)alias btrfs-alias='xhost +; pkexec btrfs-assistant; xhost -'
Auto-start Niri
- Add at the end of your
.bashrcif [ "$(tty)" = "/dev/tty1" ]; then echo "niri?" niri --session fi
Configure Niri
- A must-have is autostart for noctalia shell. Optionally configure some keybinds and what not.
mkdir -p ~/.config/niri - Grab (
wget) the default config and shove it into~/.config/niri/config.kdl - You should probably run
niri validateafter messing with your config file. - Some things you can add or configure, I’m sure you can figure it out what’s what based on this example:
binds {
    Mod+K repeat=false { spawn "wezterm-gui"; }
    Mod+S repeat=false { spawn "steam"; }
    Mod+B repeat=false { spawn-sh "/usr/bin/flatpak run --branch=stable --arch=x86_64 --command=waterfox --file-forwarding net.waterfox.waterfox"; }

    Mod+BackSlash { spawn-sh "qs -c noctalia-shell ipc call launcher settings"; }
    Mod+Space { spawn-sh "qs -c noctalia-shell ipc call launcher toggle"; }
    Mod+P { spawn-sh "qs -c noctalia-shell ipc call launcher clipboard"; }
    Mod+Return { spawn-sh "qs -c noctalia-shell ipc call controlCenter toggle"; }
    Mod+L { spawn-sh "qs -c noctalia-shell ipc call lockScreen lock"; }
    Mod+Delete { spawn-sh "qs -c noctalia-shell ipc call sessionMenu toggle"; }

    XF86AudioRaiseVolume { spawn "qs" "-c" "noctalia-shell" "ipc" "call" "volume" "increase"; }
    XF86AudioLowerVolume { spawn "qs" "-c" "noctalia-shell" "ipc" "call" "volume" "decrease"; }
    XF86AudioMute { spawn "qs" "-c" "noctalia-shell" "ipc" "call" "volume" "muteOutput"; }
    XF86MonBrightnessUp { spawn "qs" "-c" "noctalia-shell" "ipc" "call" "brightness" "increase"; }
    XF86MonBrightnessDown { spawn "qs" "-c" "noctalia-shell" "ipc" "call" "brightness" "decrease"; }

    Print { screenshot; } //Not using flameshot due to bugs at the moment, should be fixed soonTM...

    Mod+BackSpace repeat=false { close-window; }
    Mod+Left repeat=false { focus-column-left; }
    Mod+Right repeat=false { focus-column-right; }
    Mod+Alt+Left repeat=false { move-column-left; }
    Mod+Alt+Right repeat=false { move-column-right; }
    Mod+Slash repeat=false { maximize-column; }
    Mod+Alt+Slash repeat=false { toggle-window-floating; }
    Mod+Up repeat=false { fullscreen-window; }
    Mod+Comma { set-column-width "-10%"; }
    Mod+Period { set-column-width "+10%"; }
}

window-rule {
    match app-id=r#"discord"#
    default-column-width { proportion 1.0; }
}

//At the end of the config file:
spawn-at-startup "qs" "-c" "noctalia-shell"
spawn-at-startup "wezterm-gui"
noctalia/niri/gtk/qt themes
Technically all of the above can be done without a single reboot in tty - but you are now ready to reboot into your niri session.
After you reboot into niri/noctalia, configure your noctalia using its gui settings and under the Colour Scheme “tab” create templates for qt, gtk, niri and kcolorscheme
You will need to add include "noctalia.kdl" into your niri config for these to be read.
Then run the qt6ct application and simply select the noctalia theme and confirm. You should be all set now. If for some reason dolphin doesn’t use your theme, you may have to set it there manually. Dolphin is a special snowflake like that.
steam
I personally execute the entire Steam in gamescope on my handheld with the deck bigpicture mode. You can auto-start it as well. (Just keep in mind that Steam will update itself in the background so it may take minutes for it to actually show up if it’s updating.) Add into your niri config:
//binds section:
    Mod+S repeat=false { spawn-sh "gamescope --mangoapp --steam --default-touch-mode 4 --hide-cursor-delay 2000 -f -w 1920 -h 1080 -W 1920 -H 1080 -- steam -gamepadui -steamos3 -steampal -steamdeck -pipewire-dmabuf -nointro"; }
//wherever your spawn-at-startup is for noctalia:
    spawn-at-startup "gamescope --mangoapp --steam --default-touch-mode 4 --hide-cursor-delay 2000 -f -w 1920 -h 1080 -W 1920 -H 1080 -- steam -gamepadui -steamos3 -steampal -steamdeck -pipewire-dmabuf -nointro";
Since we’re still waiting for valve to fix gamescope touch input and nointro, you will need to run Steam without gamescope if you need the touch input. And you can use a black frame webm to get rid of the intro video as well, grab it and shove it into: ~/.steam/root/config/uioverrides/movies/deck_startup.webm
Enjoy!
Find me in the Fedora Linux Discord if you have any issues or questions.
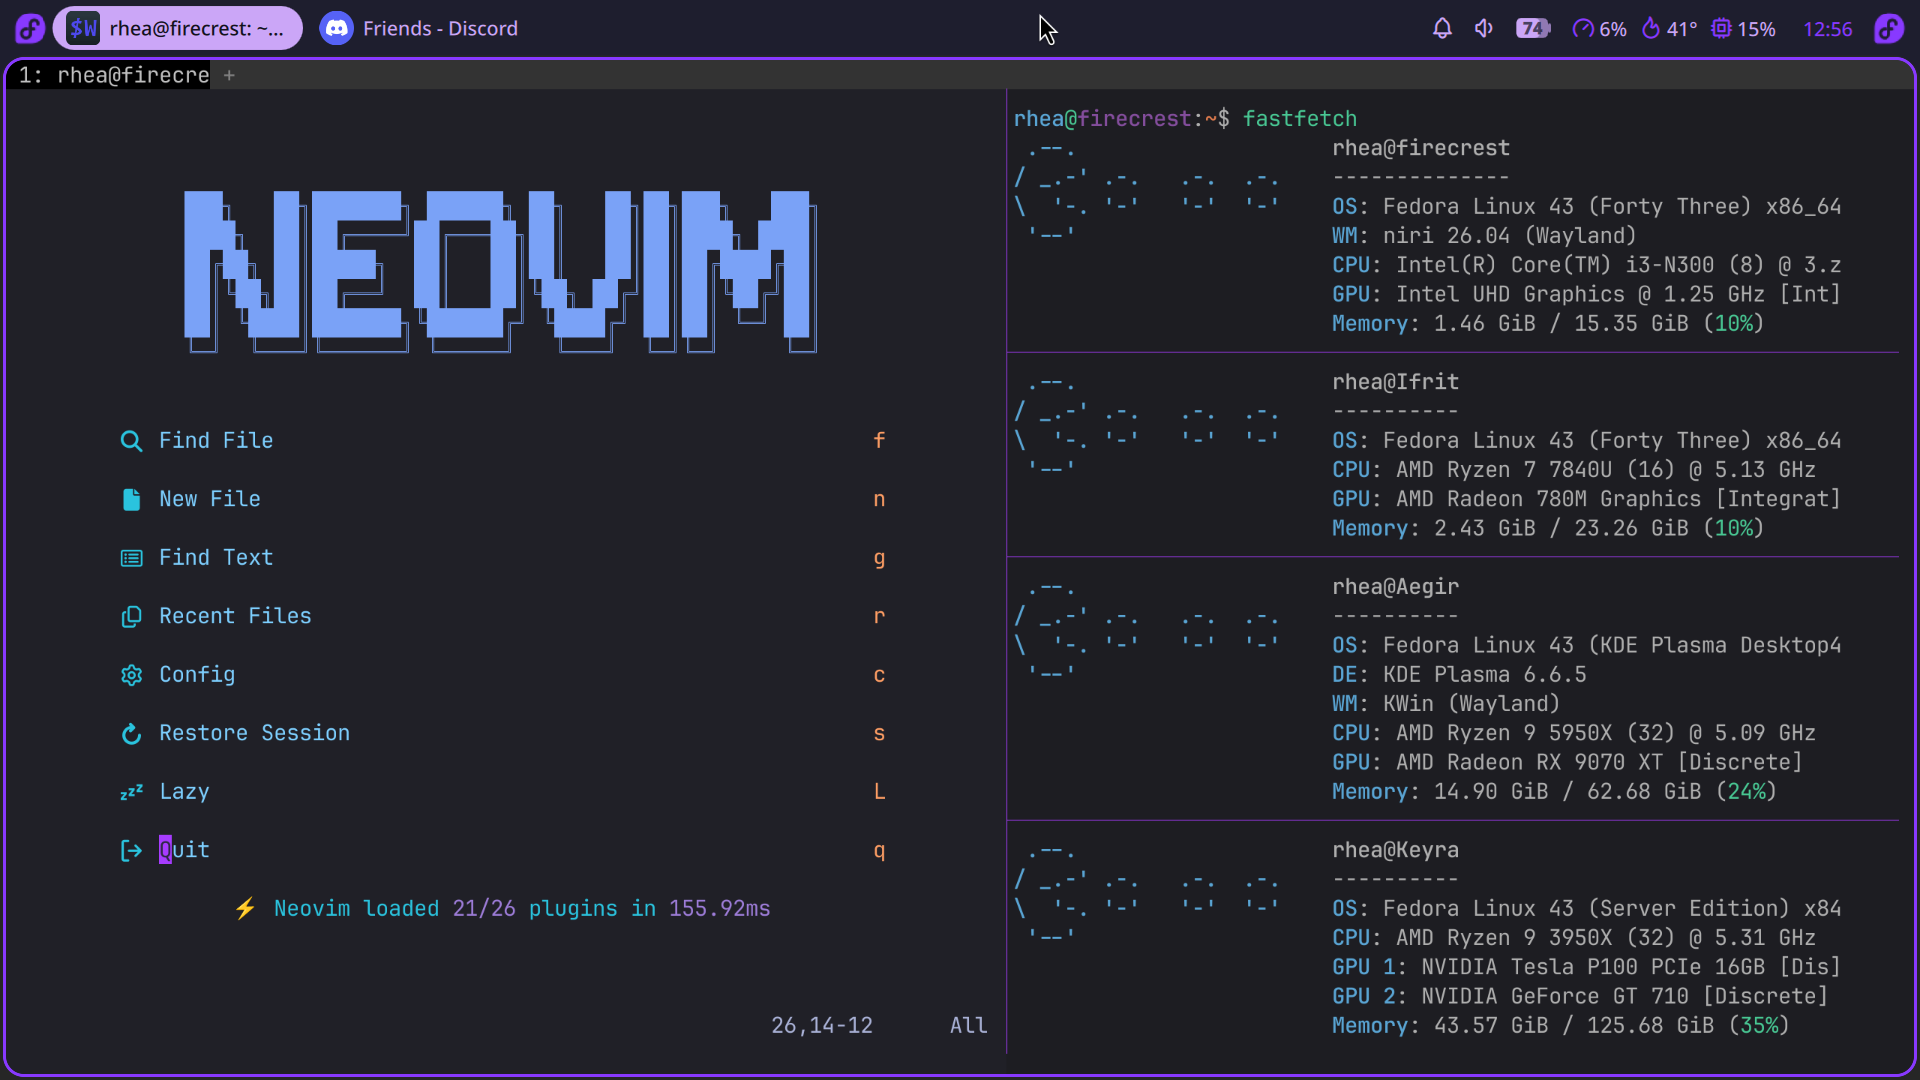
GPD Win4 running Fedora Linux
*Mumbles something about probably forgetting something…*